By Rachel Bake

Introduction
When drawing people, eyes can be a daunting task. They tend to be the most unique and expressive part of a person, so it is important to get it right, or else the whole look is off. In this tutorial, I will not only demonstrate how to easily draw the eye, but I will also teach you the logic and mechanics behind how an eye looks. This will help you create original pieces without a reference photo.
Structure
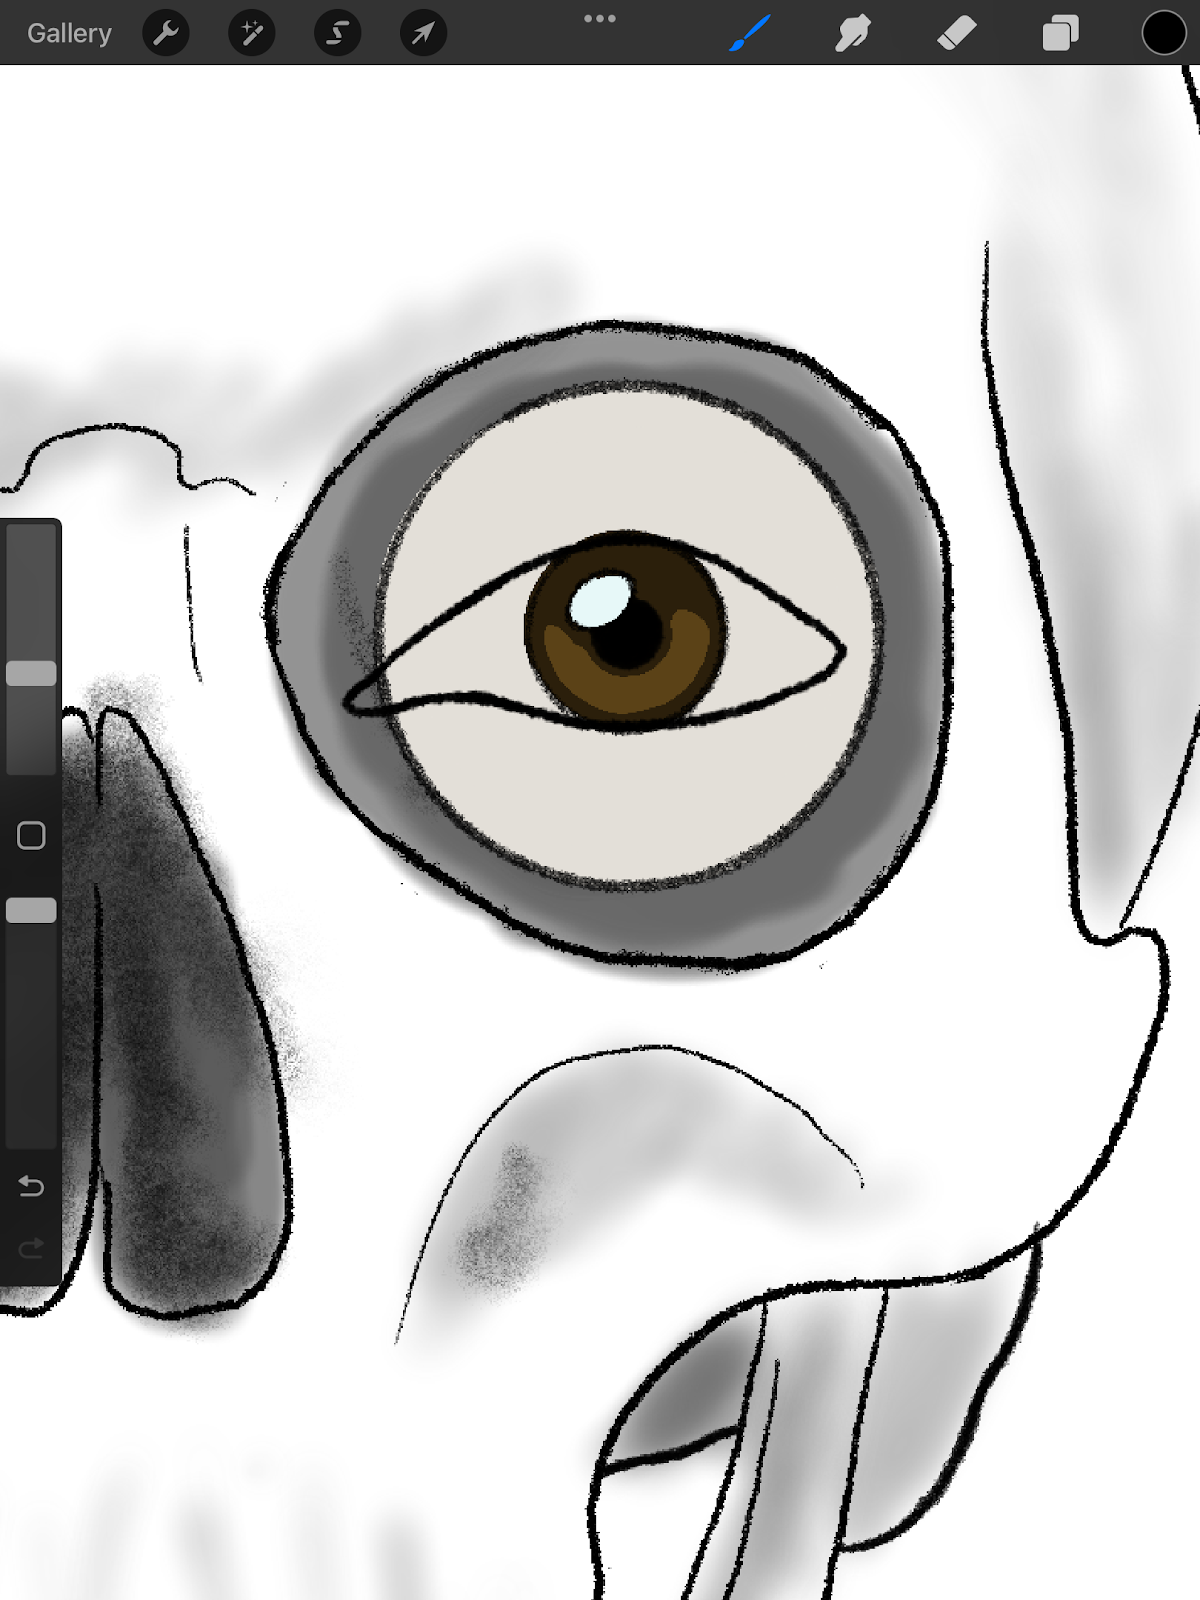
The first step to drawing an eye is determining the placement within the skull. The depth of the eye within the eye sockets will change its outward appearance.The deeper-set the eye, the more of a hooded appearance the eyelid will have, and the closer to the eye the crease will be. On the flip side, the more the eye protrudes from the skull, the more lid space is visible.


Shape
The next step is determining the shape of the actual eye opening. Pick where you want the high point to be. Is it towards the inner eye, or is it centered? Is there a flat area? And next is the lower lid. Where is the most white space? Is the iris touching both lids, or is there space between the iris and the waterline?


Outline
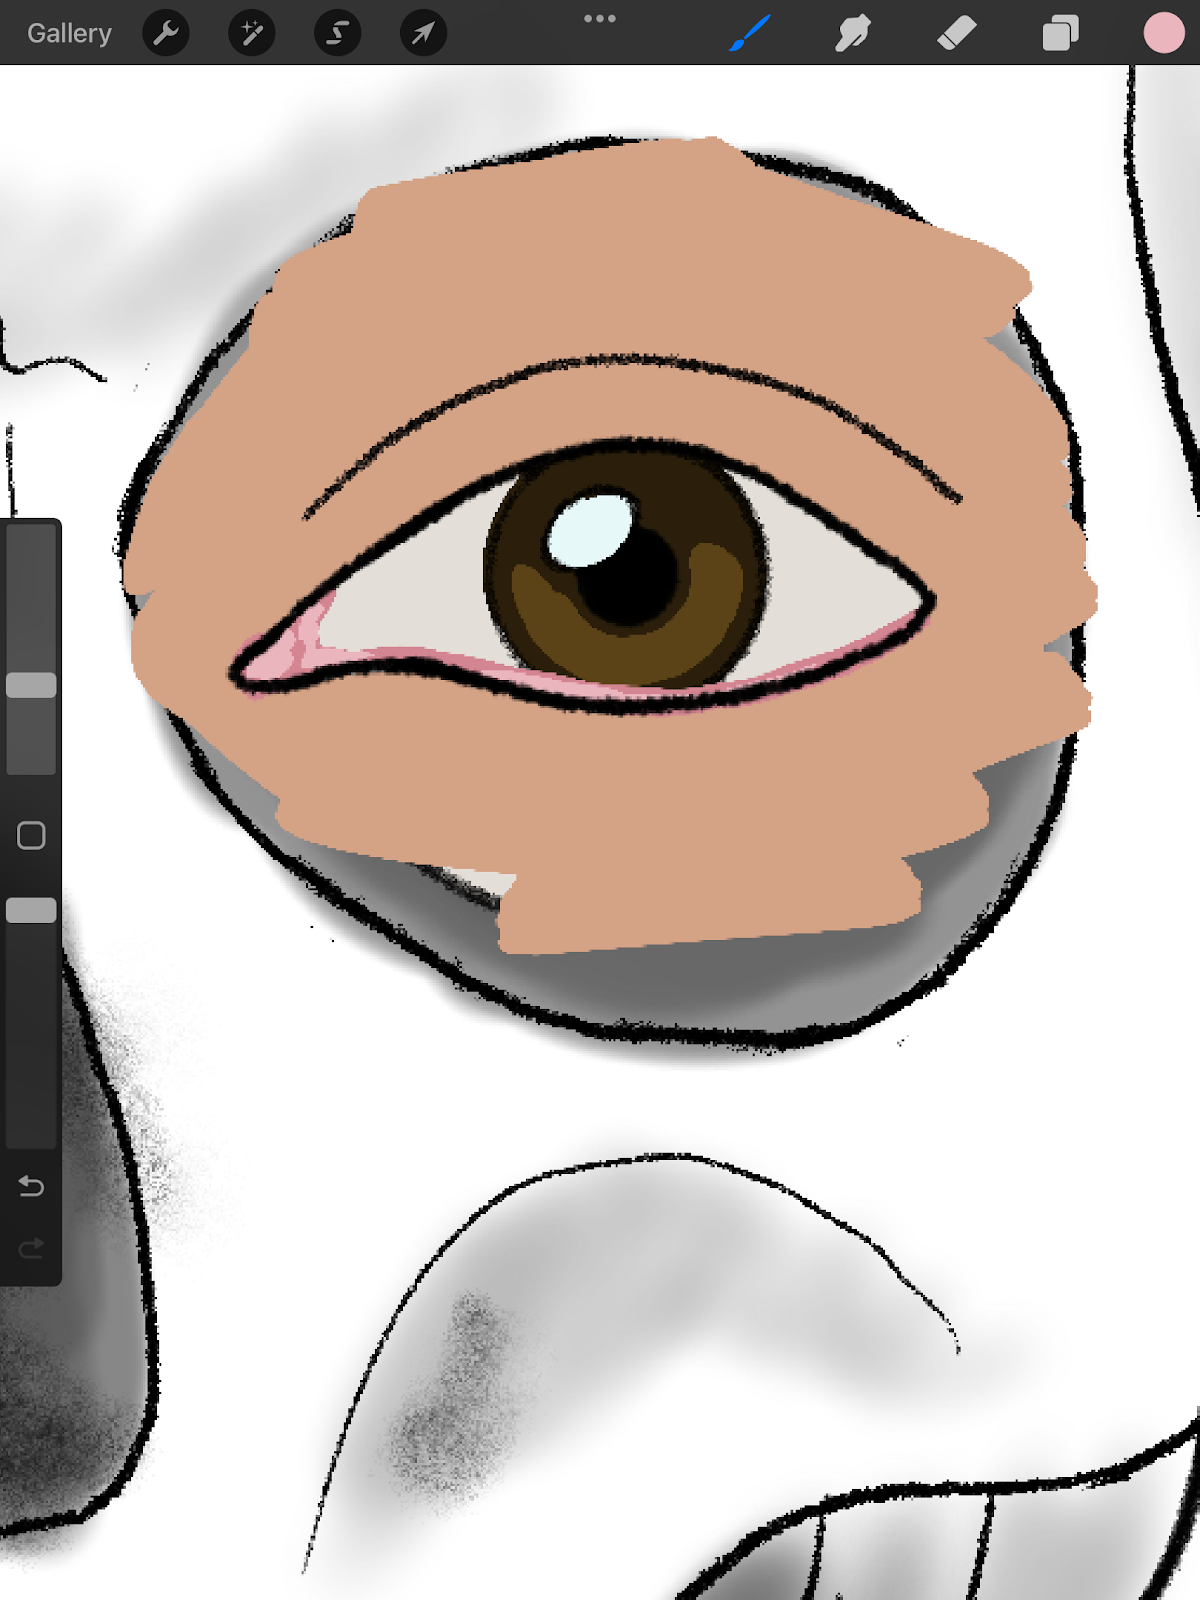
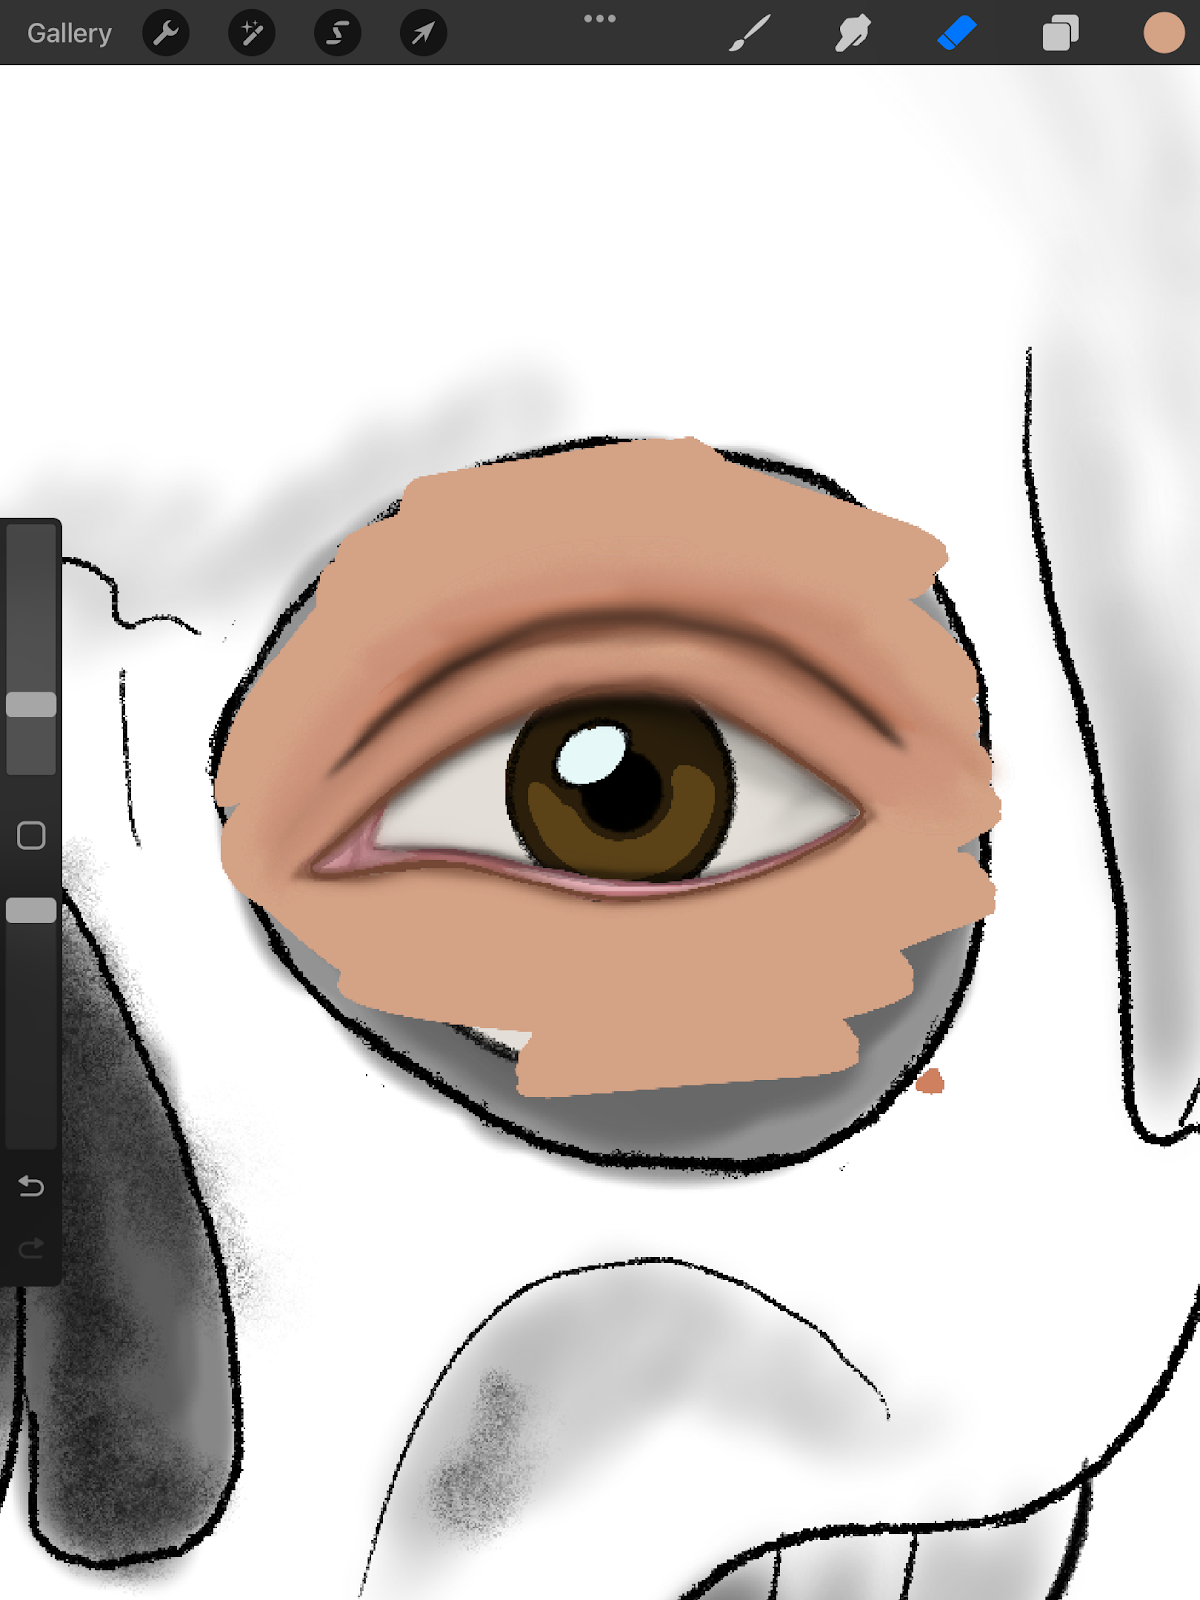
Once you have determined the previous information put it all together and draw the outlines. Remember to add the inner corner triangle. It will connect to the waterline. Add the base color and prepare to shade. (this can be in grayscale but I used color in the example).
Placement
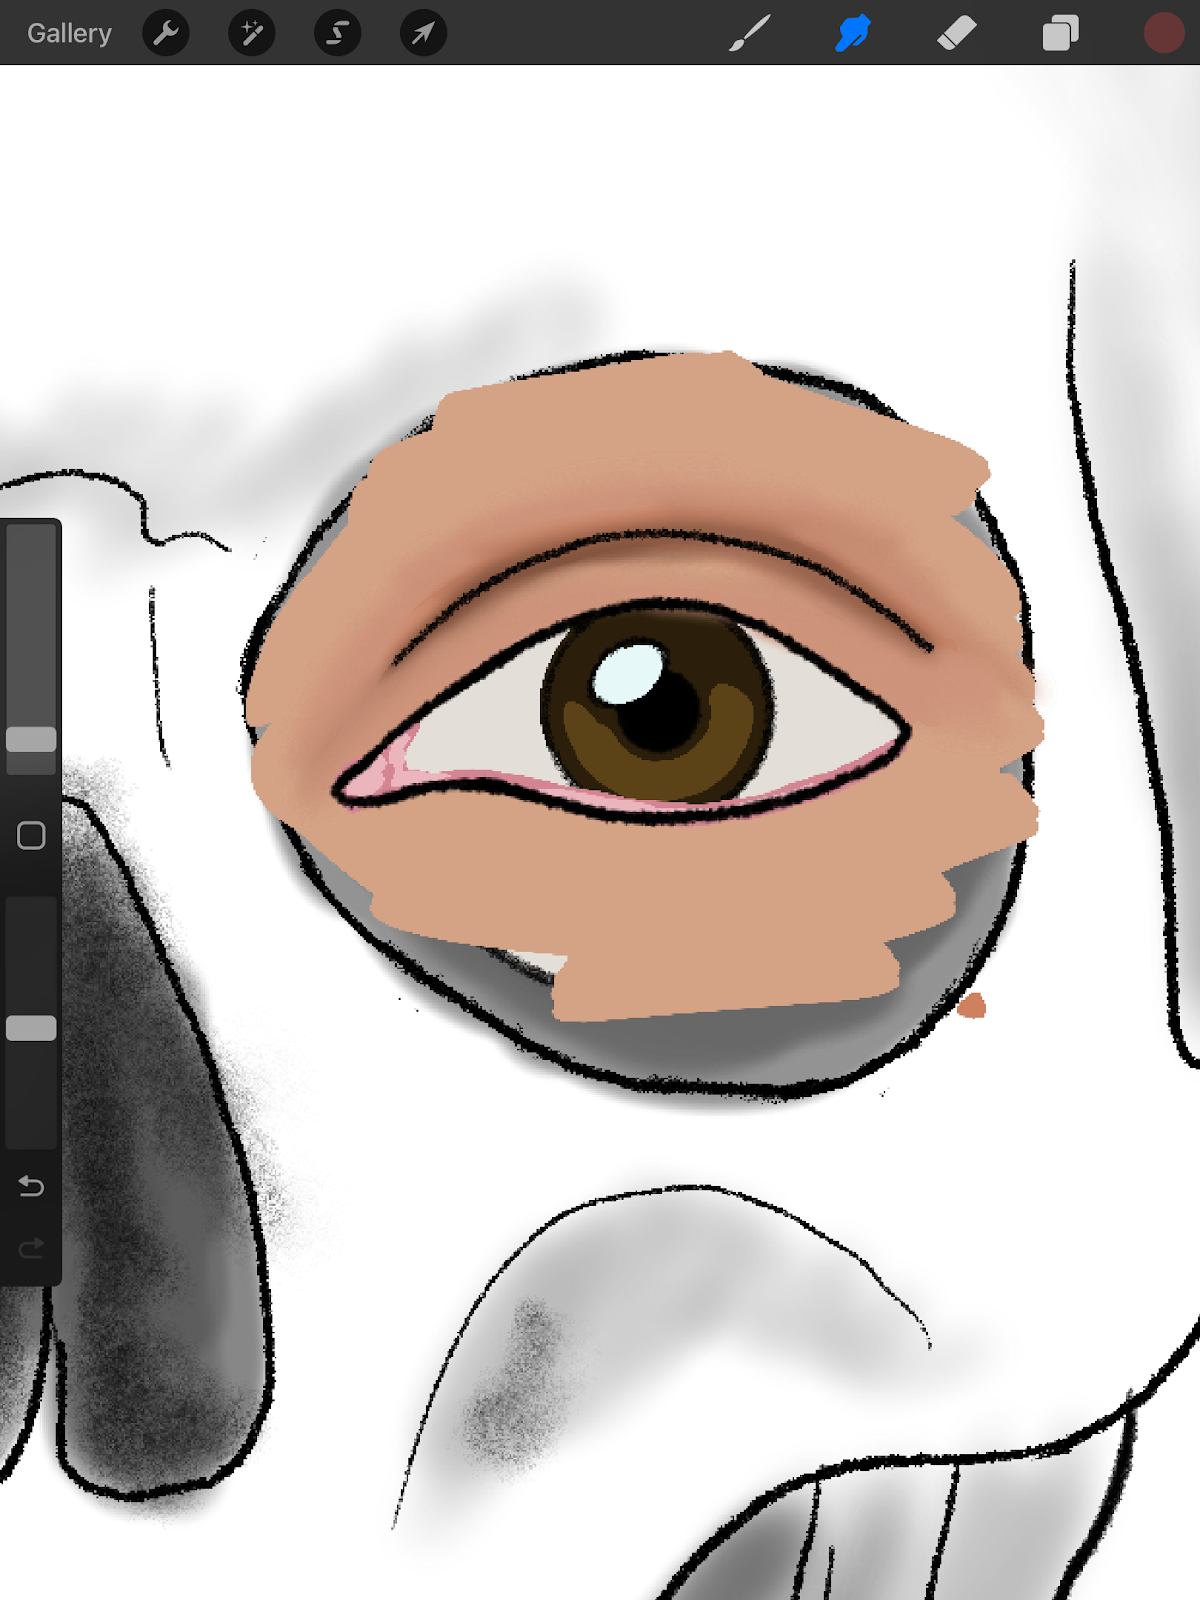
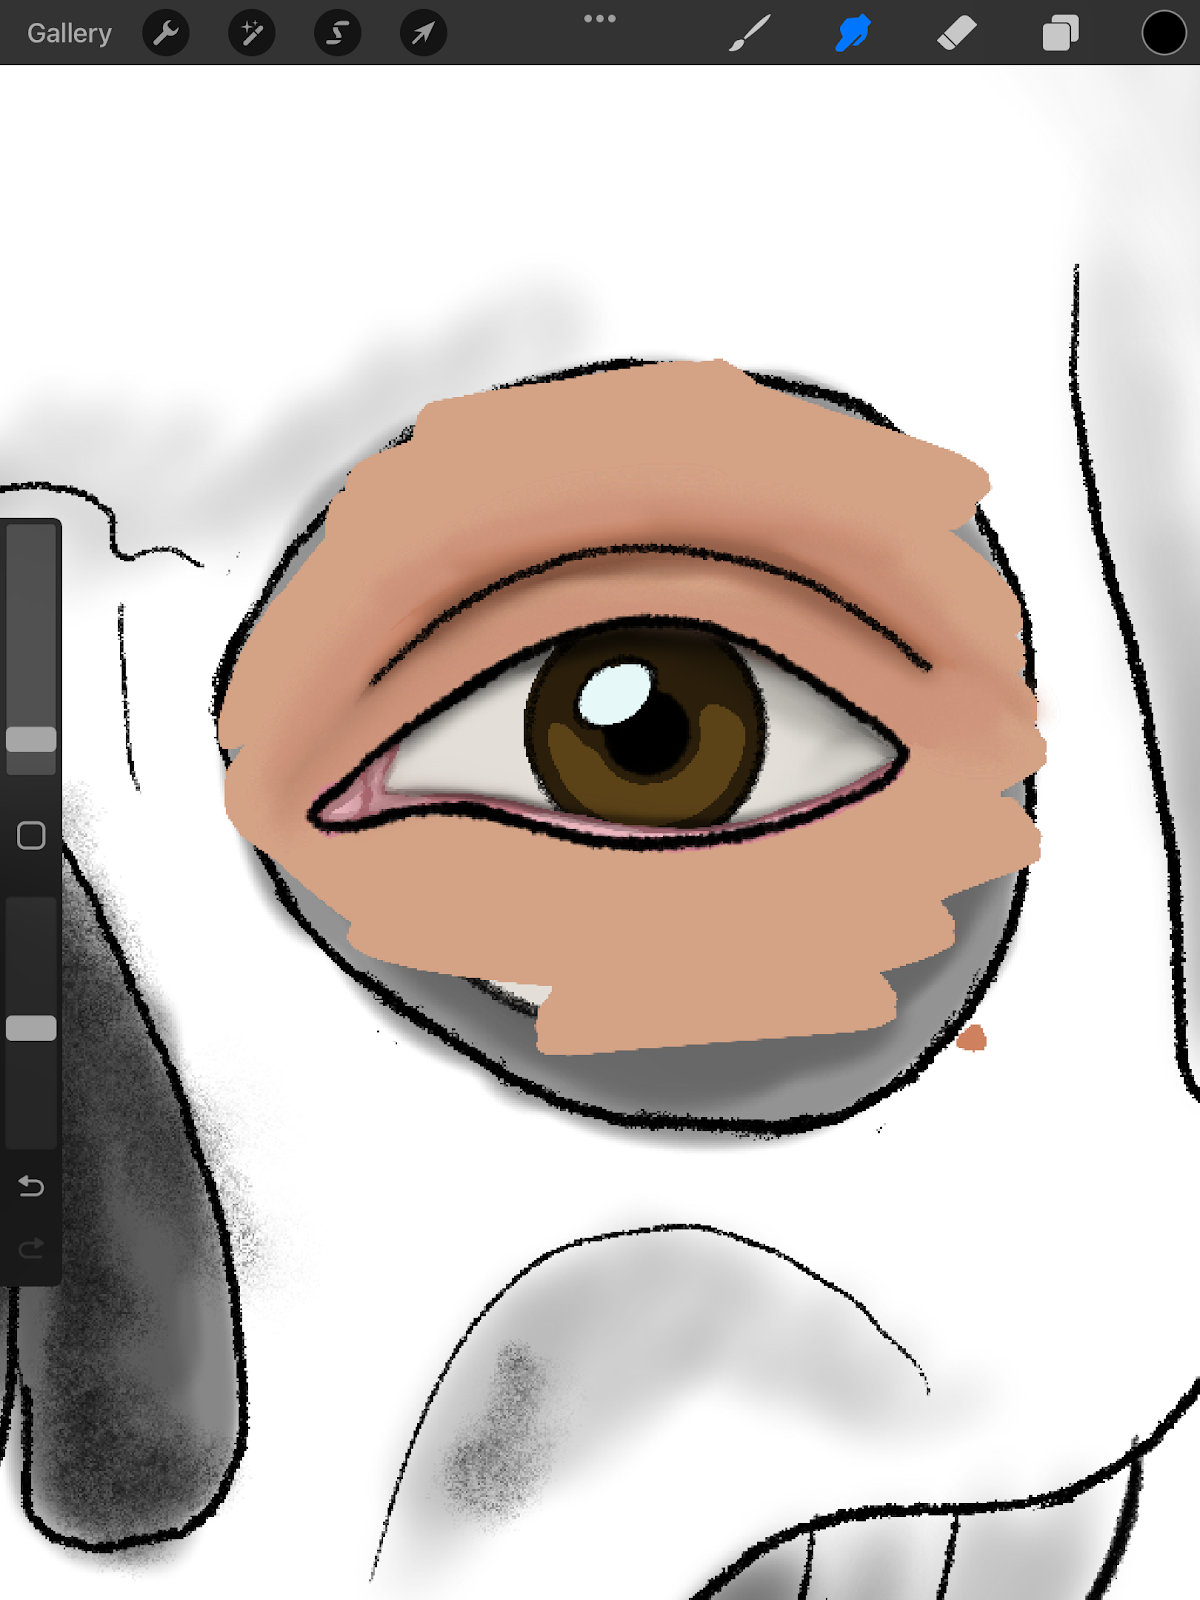
Now we figure out the placement of highlights and shadows. The crease has the deepest and most concentrated shadows. Next, the area under the brow bone will be full, but lightly shadowed, however the brow bone itself will be highlighted. Along with directly under the eye close to the nose. There will also be shadows on the two sides of the eyelids, with highlights in the center. The waterline faces up so it will also be highlighted, especially since it is wet. The very inner corner of the eye will also have highlights.


Eyelashes
Next step is the eyelashes and eyebrows. There is a technique for creating natural looking eyelashes. In order to look organic the lashes should not look uniform. They tend to group together, pointing slightly different directions. They will be different heights. The best way to draw an individual eyelash is to use a sharp swooping motion. Remember eyelashes go forward before they go up. This method will create a fluid look and motion.
The bottom lashes grow in front of the waterline – so they won’t be ‘touching’ the eye like the top lashes do. They are also generally shorter and less sparse than the top lashes.

Eyebrows
There are many different shapes and styles of eyebrows, and you will draw them differently respectively. In addition to the natural shapes and growth patterns, many people style them, whether they are filling them in, shaving them, or a popular soap brow.
Natural
Although natural eyebrows do have shape, it is usually much less defined. Individual hairs often go indifferent directions and some are outside the lines. On the tail end of the eyebrow, the hair will start to grow in a more downward direction, which is responsible for the tapered end.
Soap
A soap brow is a popular style in the world of beauty and makeup. People use gel to make a very big fluffy brow. This is achieved by brushing all the hair up in one direction, giving it a big fluffy appearance. When drawing this, the most important part is that all the hair is going in the same direction. This will make the brow more sparse and there will be more gaps.
Filled
Filled eyebrows are another way people style their eyebrows. It generally begins with them brushing their brows, but keeping the natural flow and direction. Then most people will use some type of brush or pencil to fill in with a color matching their natural hair. It is usually lightest at the start of the brow, and darkest on the tail. Some people even do an outline on the top and bottom edge.

Finishing Touches
Now that the basic structure is done, you can add the final touches that make the art pop. Add some highlight on the eye, maybe add color on the lid. Add detail to the iris. Or use what you just did to practice the other eye. Getting too comfortable with just one way (or side) of doing something limits us, so it is important to practice. I hope this tutorial helped you!
For more tutorials like this, read our blogs at https://allisterarts.com/home/blog/