Written By: Rachel Bake
Introduction to Drawing
When starting a drawing it can be overwhelming. Especially more complex subjects such as people. In order to keep your sanity and build technical skills, the key is to break the process down into more manageable pieces. While sketching, use light lines.
Break Down the Body
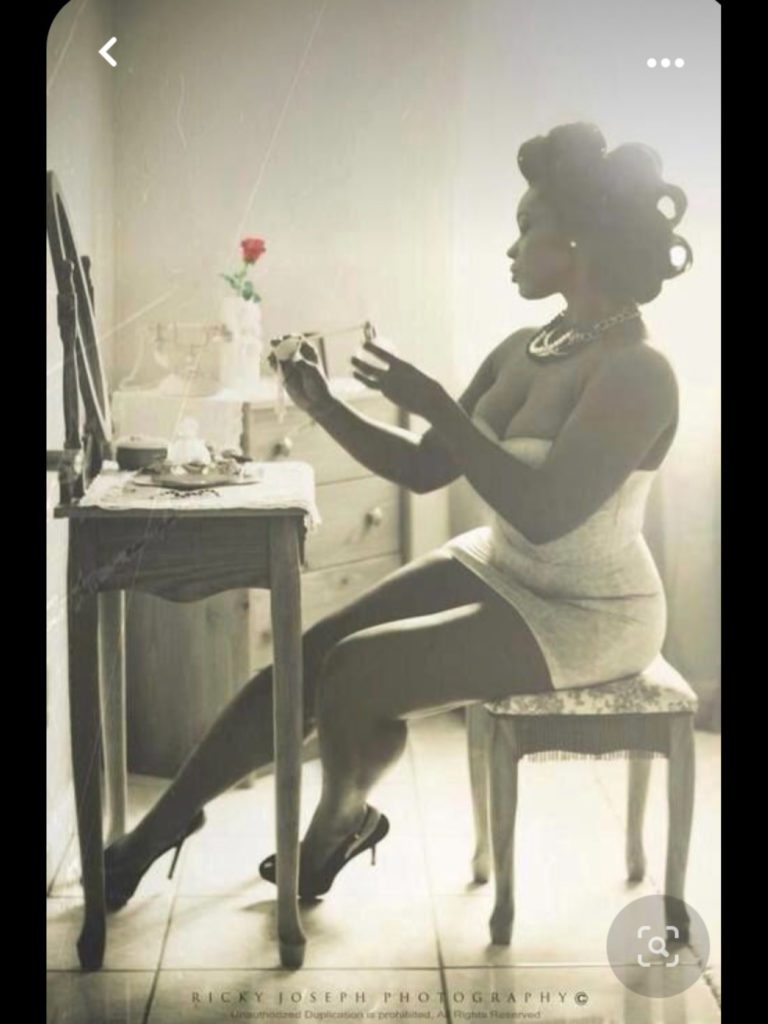
Take your reference photo and identify the basic shapes. When I draw people, I start with the torso. A triangle for the top, a trapezoid or square for the hips, depending on if the subject is male or female. I add a circle/oval in the middle to indicate the bending point at the stomach. Keep in mind that that point can rotate in all directions. I also add two small circles at the top points of the triangle to indicate the shoulders. If you are drawing a woman, the breasts should be indicated with two ovals in the middle and sides of the triangle. Breaking it down like this makes it easier to make the correct positions and proportions because they are much easier to change than a completed shape.

Sketch the Limbs
The next part to tackle are the limbs. Avoid starting with straight lines, it can make the subject appear stiff and unnatural. Draw a continuous loose line, imagine it is placed in the center of the limb. Don’t be afraid to get messy with it. Once you think the shape is right, add circles where the joints are. You can draw rectangle-like shapes for the hands and feet (this is just the base).
Add Body
Use ovals to flesh out the limbs. Having a separate shape for each area above or below a joint. Example: You will have two shapes to an arm. One above the elbow and one below. This process can help show mistakes, so make adjustments as you go. Think about where muscles are and add more mass. For example: the calf, if viewed from the side, is thicker up by the knee, and narrows towards the ankle. Building a body from the “skeleton” out, is a technique taught to help understand the human body.

Hands and Feet
Hands
Now it is time to tackle the dreaded hands. I have found that it is easiest to break the hand into 3 parts. The palm or back of the hand, the fingers, and the thumb. Begin with a rectangle type shape for the palm section. Add an oval where the meaty part of the thumb is connected to the palm, then add the top of the thumb, Now the hard part. Instead of drawing each individual finger, draw the shape that all four together make, as if it was traced and filled in black. This allows the proportions to stay correct, from there you can draw the individual digits. Remember that each finger has three sections, and 3 joint points. Keep in mind that the joints in the fingers can go back as well as in.


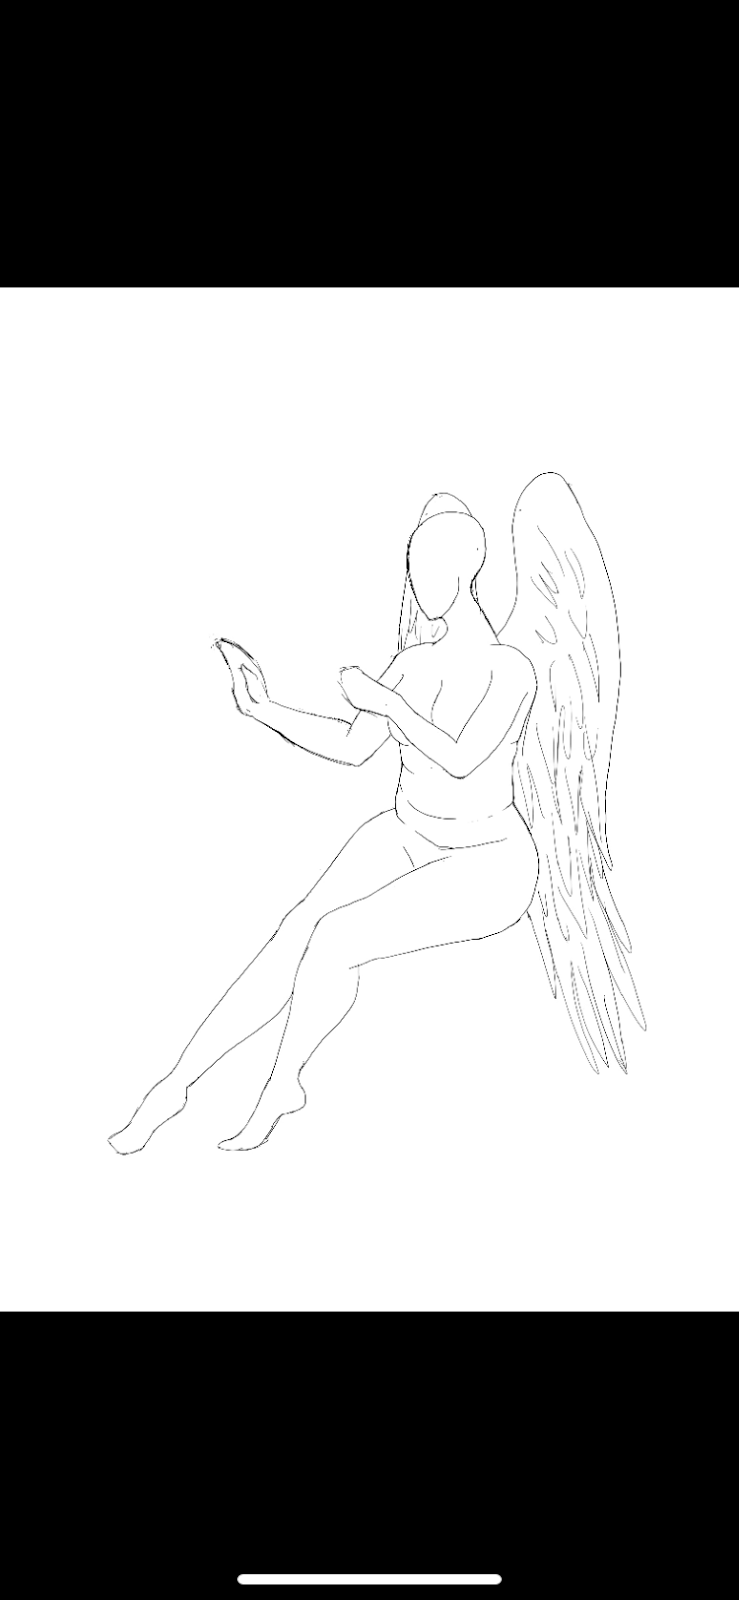
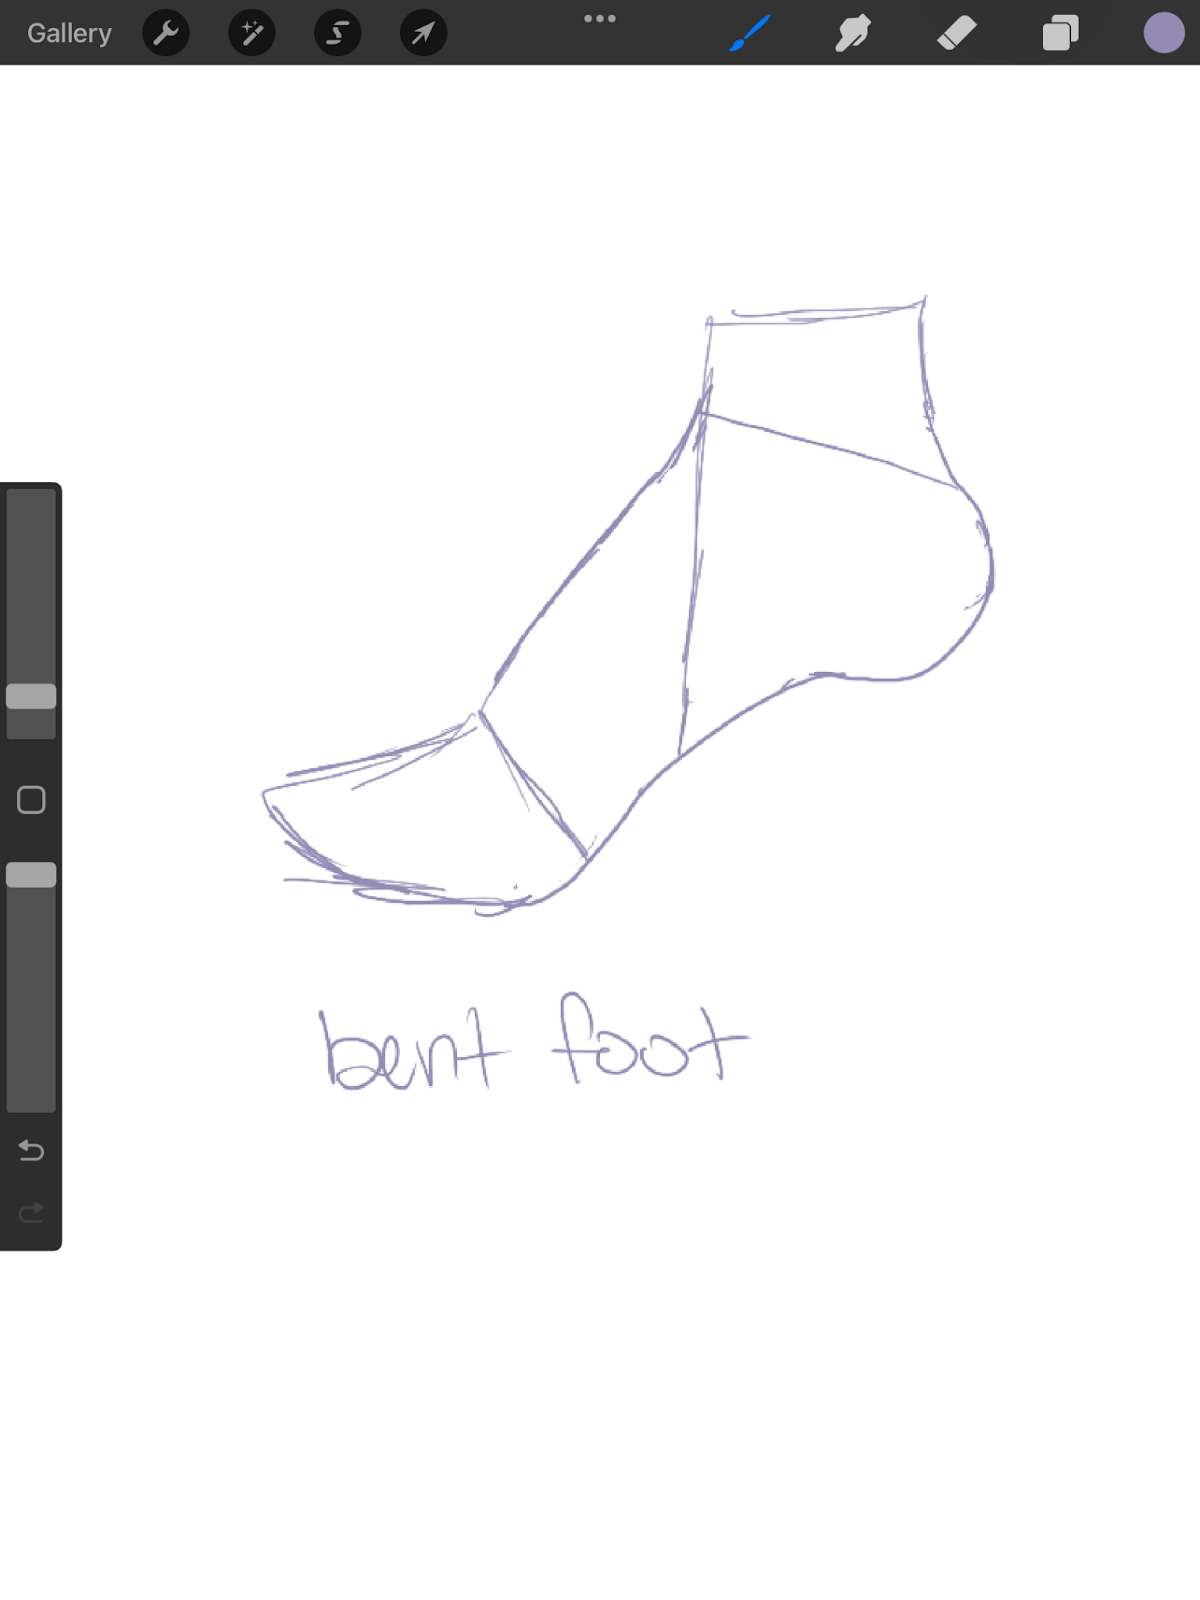
Feet
The feet are much more simple, but still start with only 4 parts. We have the heel, the heel area, the middle area, and the toe area. The area between the middle and toe area can bend, but not the area between the heel and middle. Your ankle is the moving joint at the top. What makes feet difficult is that the 4 beginning shapes can look vastly different depending on the view of the foot. Sometimes the heel isn’t even visible. Here are some examples down below.


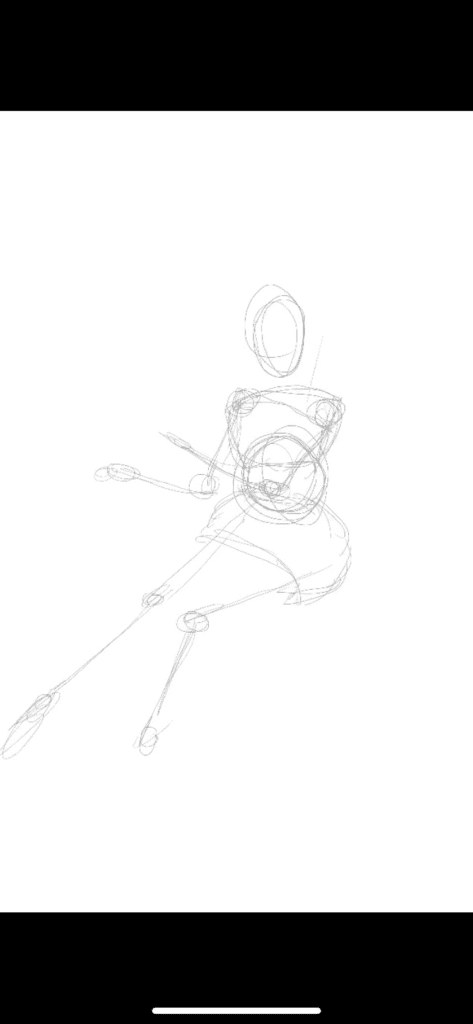
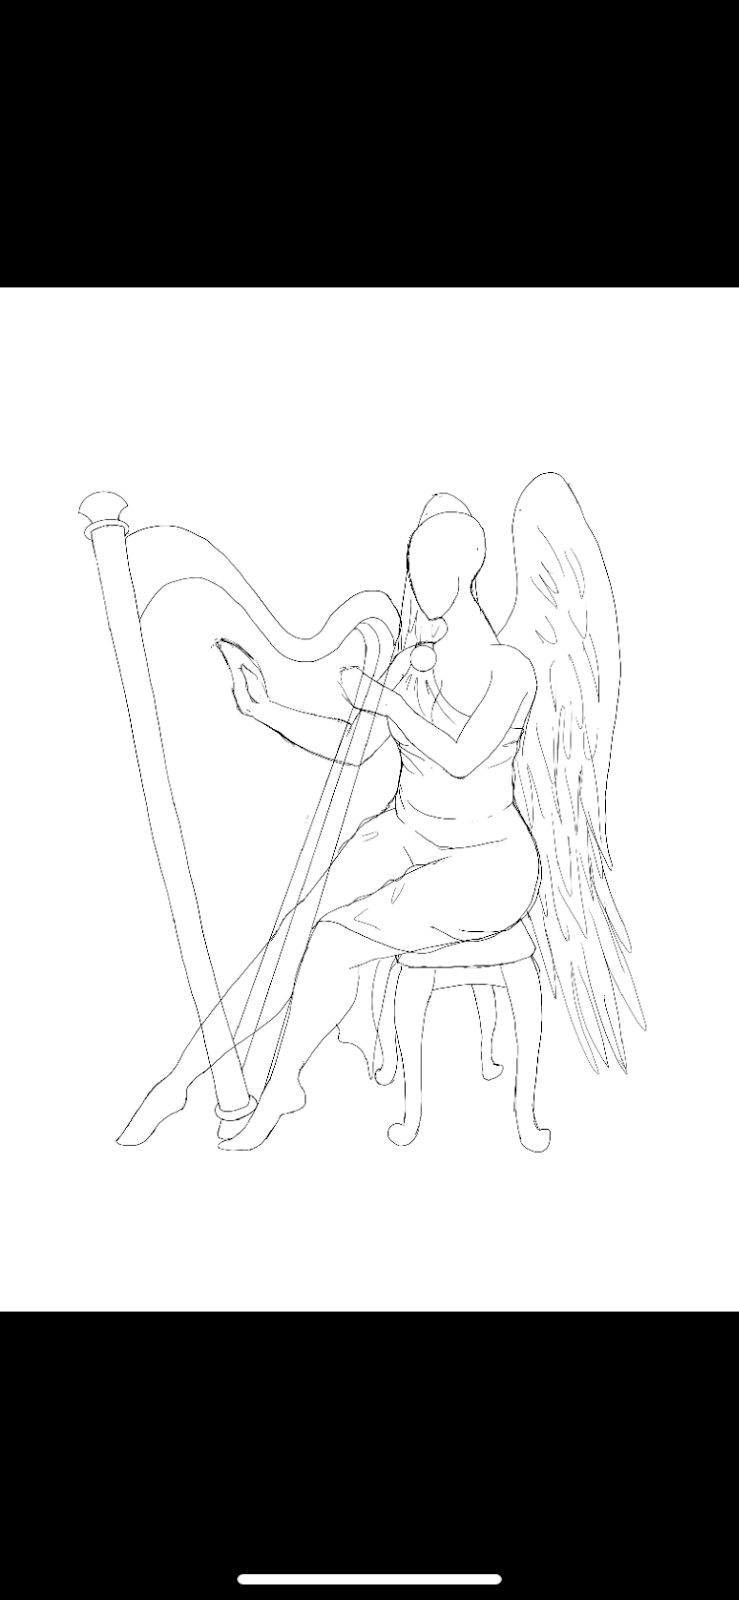
Outline and Cleanup
Now it’s time for the fun part. Trace your final lines from the sketching you’ve done. Soften sharp edges, add slight curves to straight lines. Next, erase your sketch lines so you have a nice, clean figure. Now you can add all the little details.
Clothing and Other Details
If you would like to further this drawing, you can add clothes. There are a wide variety of clothing types, and therefore endless ways to create them. The easiest ones for beginners are tight, form fitting clothes. They are mostly the same shape as the body, but with some wrinkles in joint areas. The baggier the clothes, the harder it is to draw.
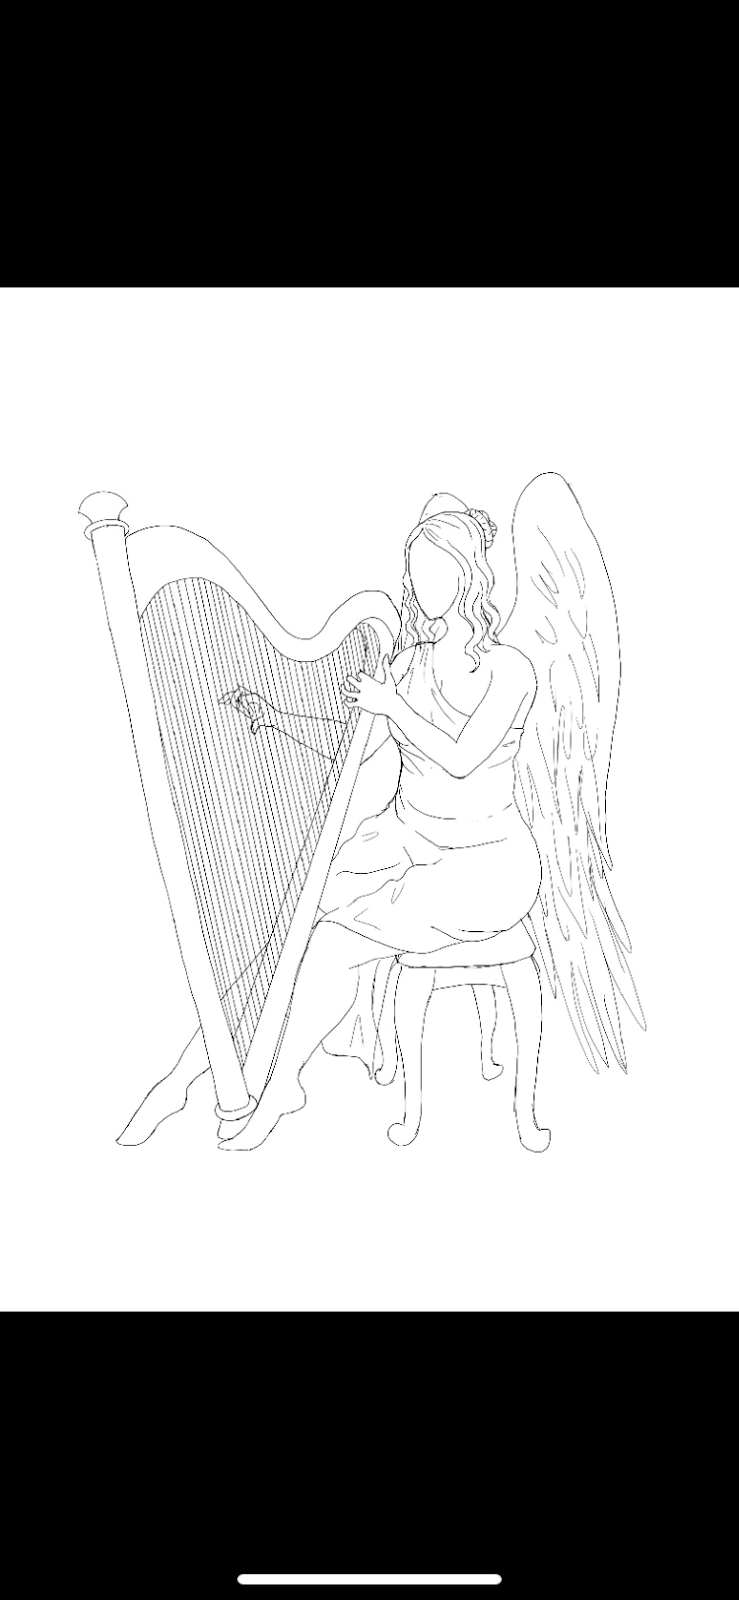
Finishing Touches
There you have a full body drawing. Outline in pen if you’d like to then erase and get only the lines you want. You can use these same techniques to draw anything from your mind, or a reference. The more you practice, the more familiar you will grow with body shapes, proportions, and movement. I hope this helped you, use the photos to help you further understand this process.
Conclusion
Art in all forms, is an incredible stress reliever. Remember, not everything has to be a final product. Allow yourself to sketch and play around. If you get too hung up on making everything perfect, it is much harder to learn and grow. It has taken me years to get to the point I am, so don’t get discouraged. Find what works for you, not everyone has the same talents. I personally am not good at cartoon style. No one style is better than another, they are all so different. Once you find your style, you can allow it to grow to really showcase who you are.
In addition I have included links to supplies that I like to use at the bottom of this page.